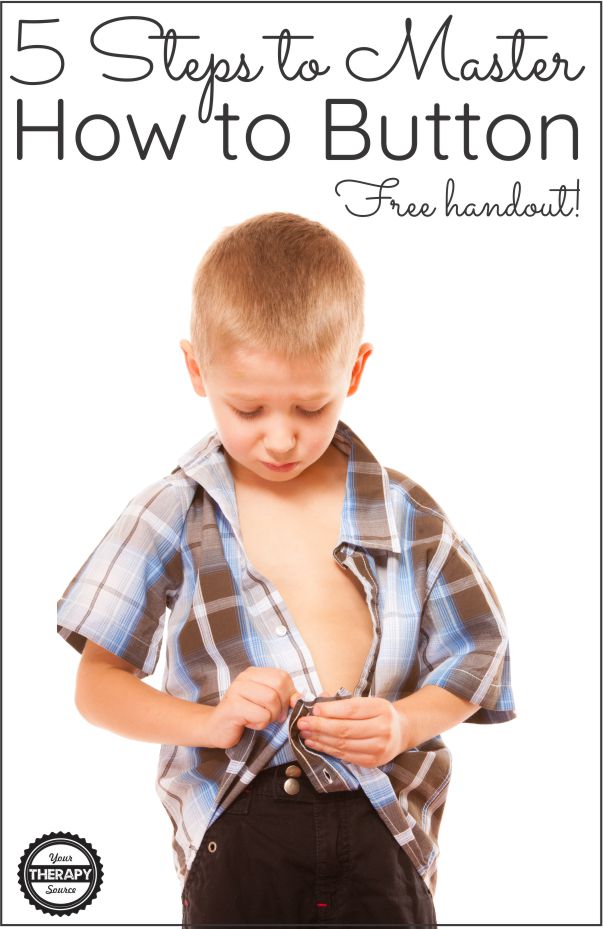
Button Practice: 5 Steps for Kids to Master Buttoning
Children can struggle when they learn how to button. They need lots of opportunities for button practice time. It can feel overwhelming to a child and stressful for the parents or teachers who are standing by to help if needed.
If buttoning seems overwhelming to your child or student, start with the step below their current skill level and spend a couple minutes daily to practice 2 or 3 steps to build confidence. Once a child has mastered a skill level, keep practicing that step and gently introduce the next level. Children can be intimidated by buttoning, especially if they’ve tried it and were unsuccessful in the past. This simple method helps small children enjoy learning to button!
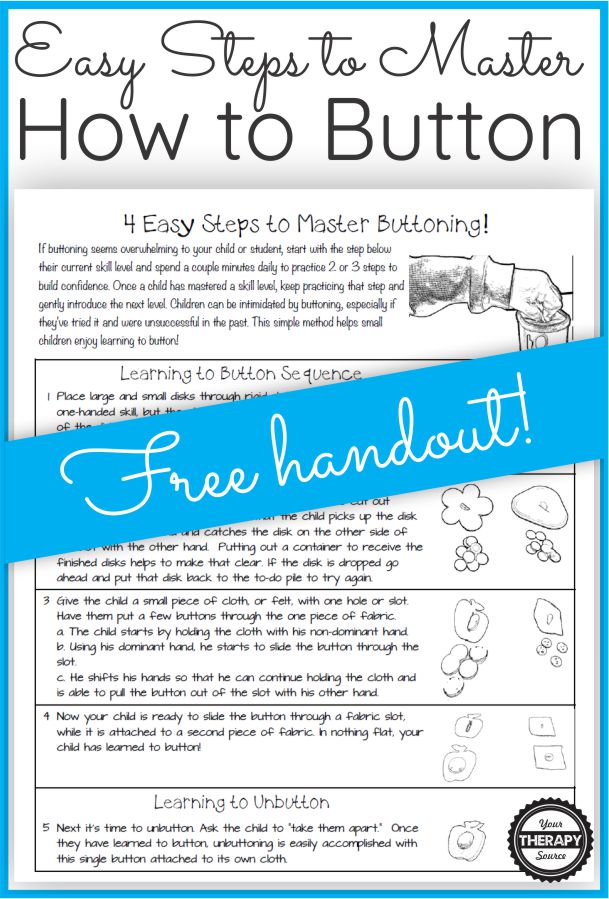
Download a FREE copy of the 5 steps to teach children how to button at the bottom of this post.
Step 1: Button Practice with Containers
Gather up cleaned, recycled containers. Cut a slot in the cover. Place large and small disks (i.e. coins, poker chips, wooden disks, etc) through rigid slot covers. This can be a one-handed skill, but the child should be able to adjust the orientation of the disk to meet the orientation of the slot. Be sure to challenge the child by shifting the slot.
Step 2: Button Practice with Container Lids
Move on the step 2 using only the container lid. Push large and small disks through rigid slots again, but this time the child holds the slotted material. Set up the task so that the child picks up the disk (button) with one hand and catches the disk on the other side of the slot with the other hand. Putting out a container to receive the finished disks helps to make that clear. If the disk is dropped go ahead and put that disk back to the to-do pile to try again.
Step 3: Try Buttoning Practice with Fabric
Give the child a small piece of cloth, or felt, with one hole or slot. Have them put a few buttons through the one piece of fabric. Follow the progression below:
- The child starts by holding the cloth with his non-dominant hand.
- Using his dominant hand, he starts to slide the button through the slot.
- He shifts his hands so that he can continue holding the cloth and is able to pull the button out of the slot with his other hand.
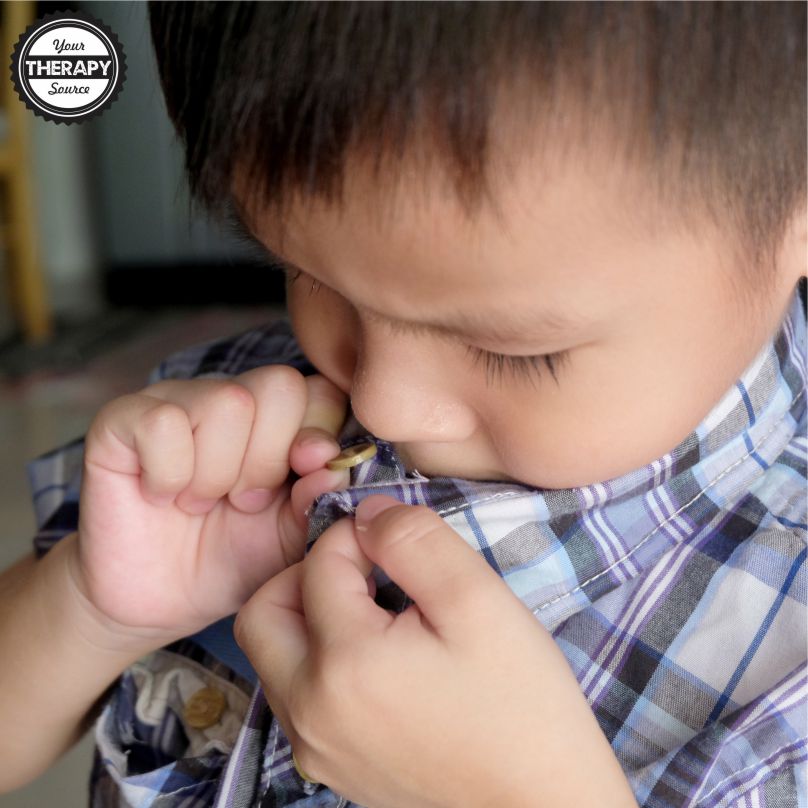
Step 4: Practice with Clothing
The final button practice step is to start practicing with regular clothing such as a shirt. Now your child is ready to slide the button through a fabric slot, while it is attached to a second piece of fabric. When you provide ample practice time, your child will learn how to button!
Step 5: Learning to Unbutton
Next it’s time to unbutton. Ask the child to “take them apart.” Once they have learned to button, unbuttoning is easily accomplished with this single button attached to its own cloth.
5 Suggestions to Help if Button Practice is Tricky
If the button practice is too tricky and a child is unable to independently fasten or unfasten his/her clothing these modifications may be helpful:
- Provide a stable base of support while they are fastening the clothing. For example, sit on a bench with feet firmly on the ground or sit on the floor in the corner of the room with back support.
- Provide verbal cues as necessary. Try to use the same wording on each step by step direction for consistency. As the child becomes more independent, reduce the verbal cues until they can be discontinued completely.
- Avoid certain fasteners – if a child does not have the strength in the shoulders or hands to snap try modifying the clothing with velcro or elastic.
- Use backward chaining if a child is having trouble with motor planning to complete all the steps to zip, button or snap. Backward chaining means that an adult provides assistance throughout several steps until the child can complete the last steps independently.
- Practice the skill in an isolated setting when not rushed. Once the child can complete the fastening tasks independently, practice the skills in different environments (i.e. bathroom versus bedroom) or with different types of clothing (i.e. tighter fitting versus looser fitting).
If you need to measure progress of a child’s ability to button or zip? Check out the Dressing Skills Rubrics packet.
Resource to Help Children with Everyday Routines

Button practice is one aspect of the activities of daily living for children. Flexible and Editable Visual Schedules for Home and Self-Help skills created by school-based therapist Thia Triggs, helps children follow the routines throughout the day including morning, bedtime and getting dressed.
Download your FREE 5 Steps for Kids to Master Buttoning
Would you like a one page handout of these steps for button practice? Sign up to receive the weekly email newsletter and announcements from Your Therapy Source. You will be redirected to the free download.
More Button Activities
3 Fine Motor Button Activities
DIY Button Activity Patterns – Insects, Bugs, and More digital download includes the patterns and directions to make your own button activities to encourage fine motor skill practice. The only sewing needed is stitching the buttons!