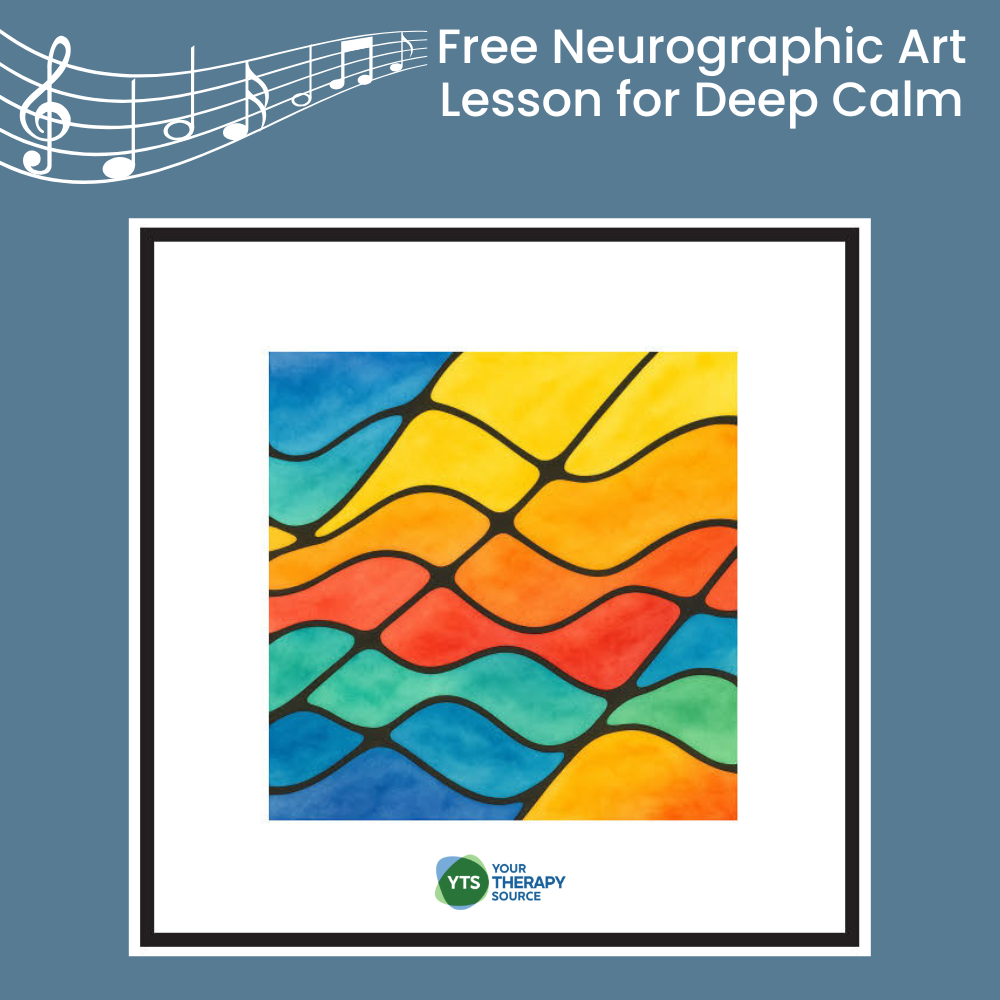
Neurographic Art Free Self Calming Activity
Finding ways to help students (and ourselves) unplug and reset has never been more important. Neurographic art offers a calming, creative practice that quiets the mind, reduces stress, and helps us refocus on the present moment. This free activity is a sample from the complete Shapes of Stillness Packet, available here: Shapes of Stillness Packet.
You can download the free Neurographic Art Wavy Lines activity at the bottom of this post.
What Is Neurographic Art?
Neurographic art is a simple drawing method that combines free-flowing lines, softened intersections, and repetitive marks. The process activates the brain’s default mode network, which supports creativity, problem-solving, and emotional balance.
By spending time rounding sharp corners and adding patterns, participants can experience:
- A break from constant stress and distraction
- A calm, creative state where the brain can restore itself
- A sense of accomplishment from completing a piece
- A portable skill you can use anytime to reset and refocus.
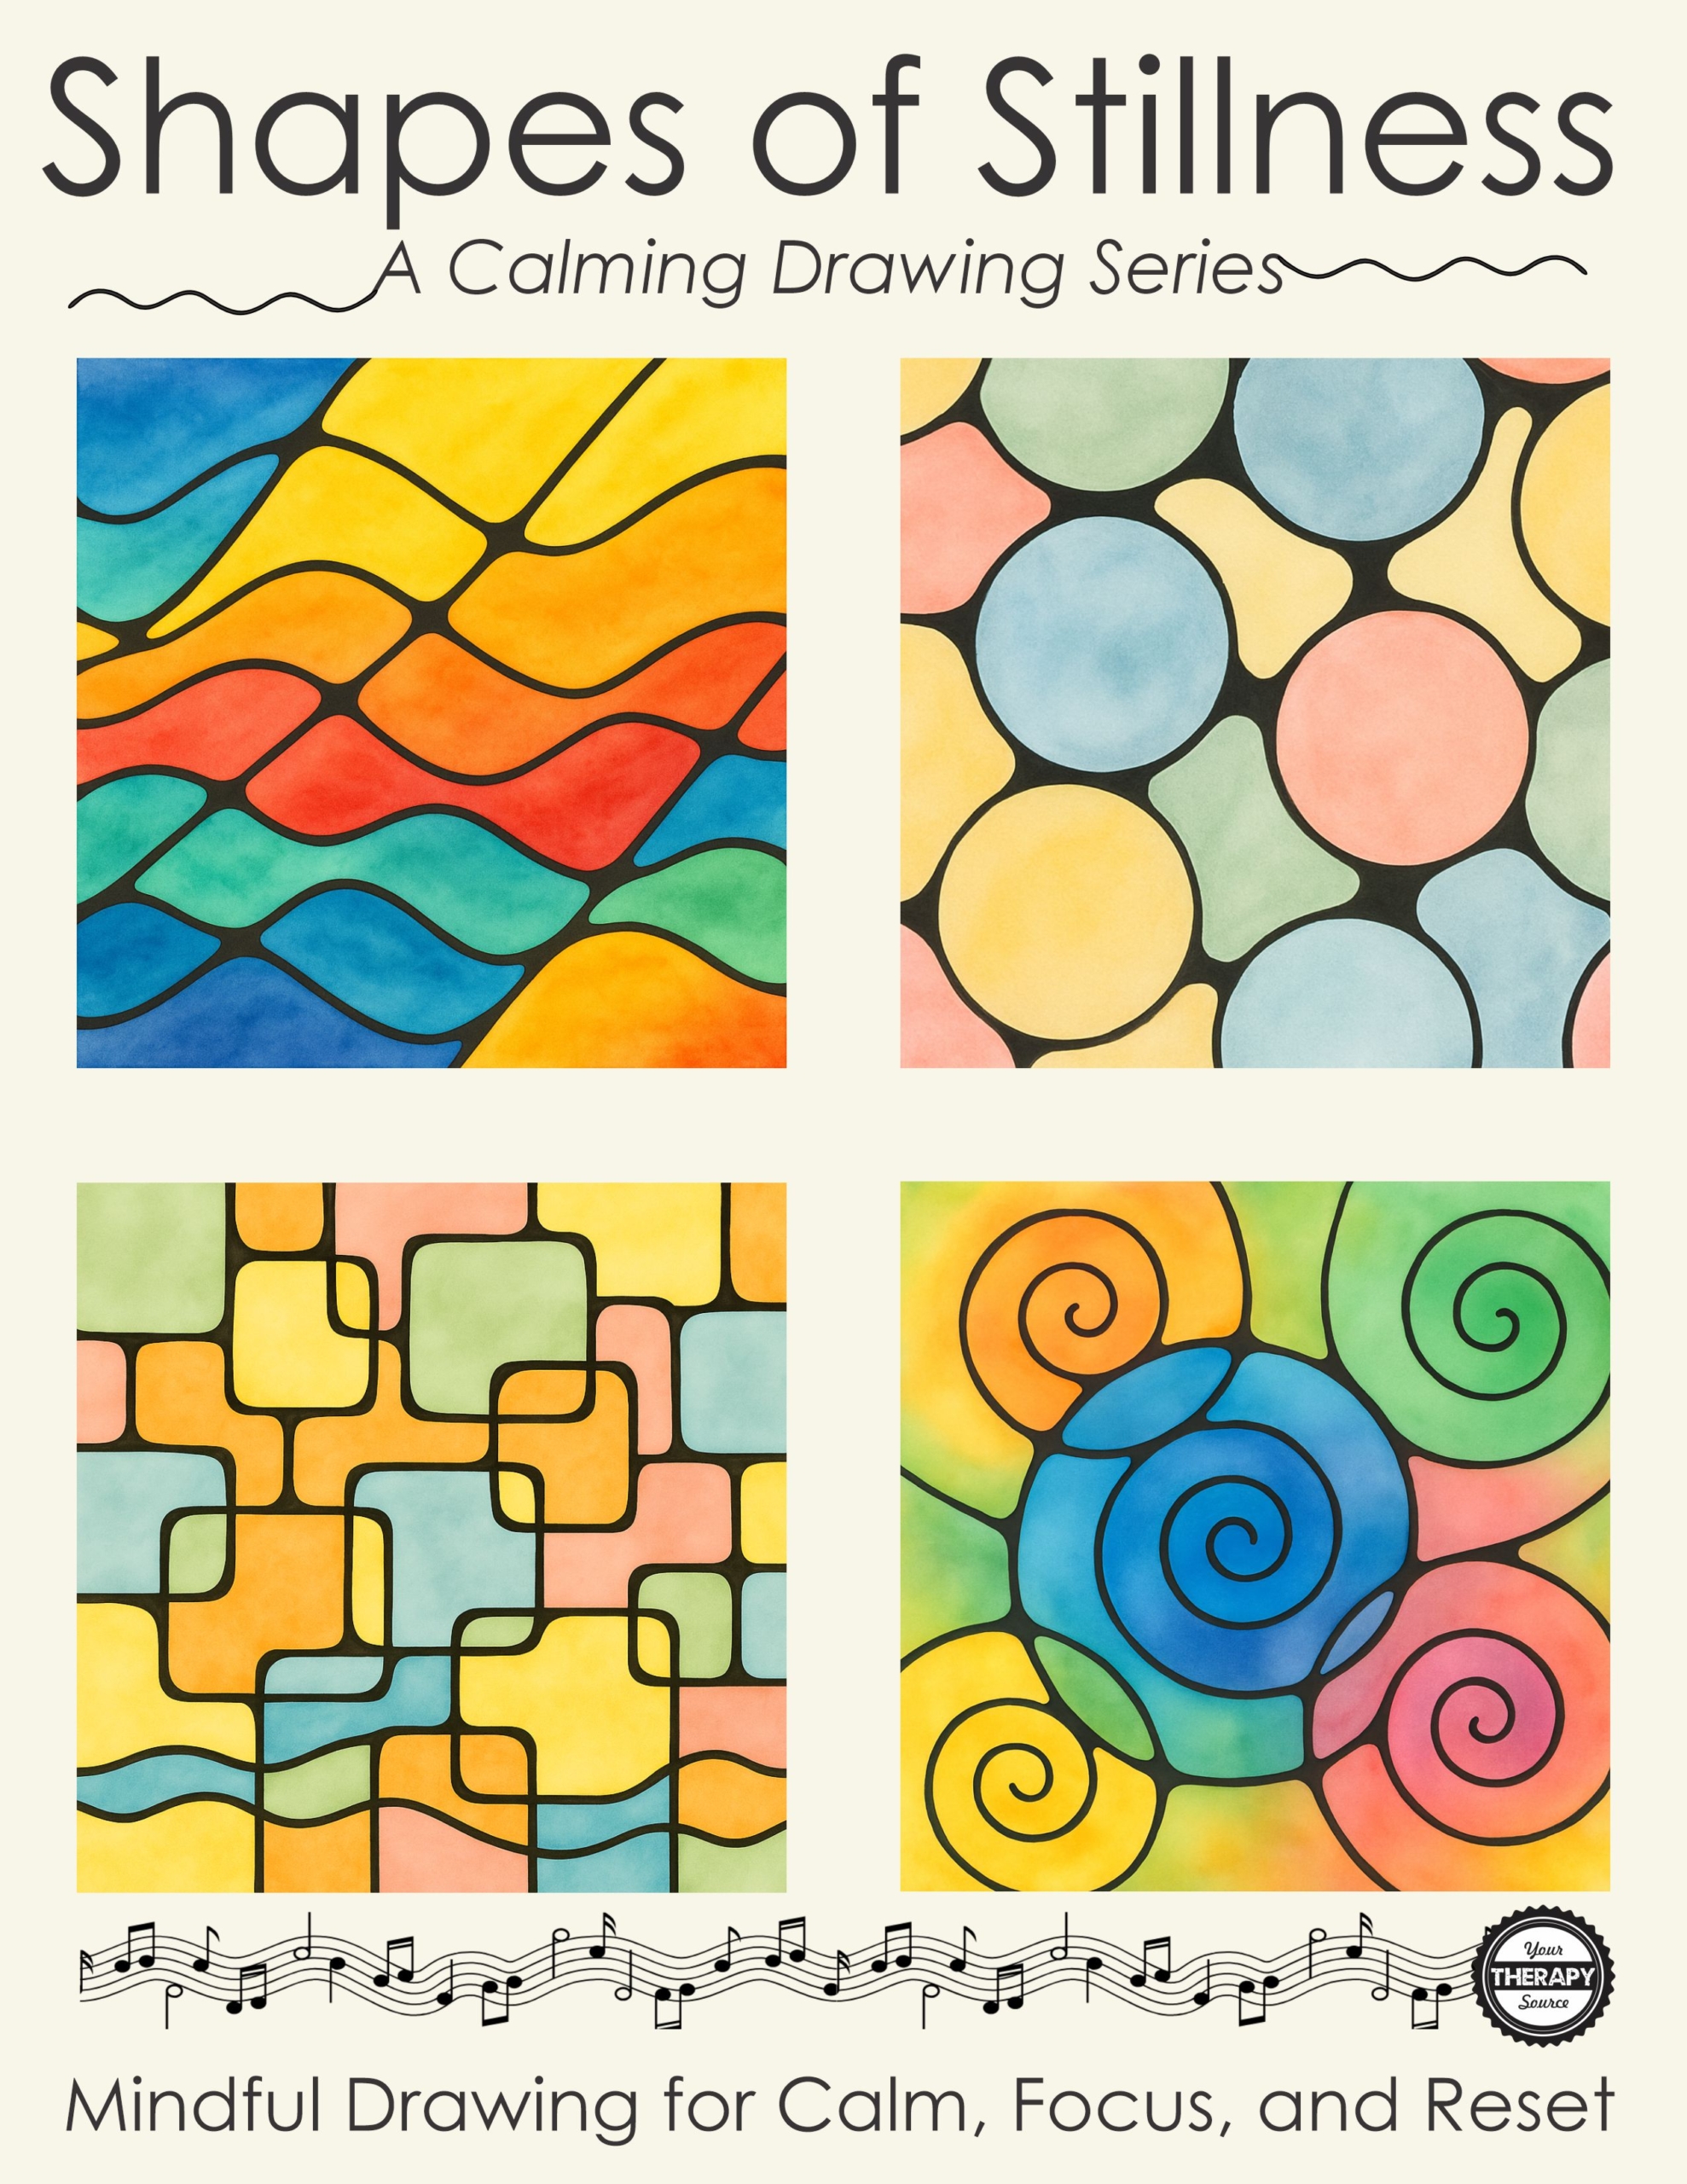
Shapes of Stillness: A Calming Neurographic Art Series
What Is Zentangle Neurographic Art?
Zentangle-inspired neurographic art blends the two approaches. Zentangle emphasizes structured, repeating patterns, while neurographic art focuses on flowing, intuitive lines. Together, they create an accessible way to combine mindfulness, creativity, and relaxation. This makes the process both structured and freeform which is perfect for calming the nervous system while producing unique artwork.
Benefits of Neurographic Art
This calming art form is especially powerful for older elementary students, teens, and adults. Benefits include:
- Promotes relaxation and mindfulness
- Provides an anti-anxiety activity or mindful brain break
- Supports focus and attention, especially in the classroom
- Offers a safe way to express creativity and emotion
- Helps build emotional regulation through repetition and calm focus
Watch and Listen to the Neurographic Art Lesson
You can download the free templates and the mp3 file at the bottom of the post.
When to Use Neurographic Art With Your Students
Neurographic art is flexible and can be used in many settings to help students (and adults) calm their minds, reset their focus, and practice mindfulness. Here are some effective times to incorporate it:
- As a seated brain break this a calming way to recharge without leaving their desks.
- To reset the whole class after recess, lunch, or a transition that feels chaotic, this activity helps everyone settle back in.
- To unplug and relax, this a screen-free alternative that engages creativity while calming the nervous system.
- In an OT session this supports fine motor skills, attention, and self-regulation.
- In counseling sessions guide students through the technique as a tool for managing anxiety and practicing mindfulness.
- Before a test or presentation to reduce stress and help students enter a calmer, more focused state.
By weaving these activities into your day, you are not only giving students a break you are teaching them a lifelong coping skill they can use anytime they need to return to calm.
How to Use This Free Activity With Your Class
You’ll need only a blank piece of paper and a regular black marker or pen (optional: colored pencils, markers, or watercolors). Here’s how to get started:
- Provide each student with the blank template, a fresh piece of paper, or the starter template.
- Follow the included directions, listen to the MP3 audio track, or watch the YouTube video for guided steps.
- Begin by drawing three or four wavy lines across the page, then add two or three more in another direction.
- Spend most of the time rounding and softening the intersections where lines cross, this is where calm and focus deepen
- When softened, add small, repeating marks or color to the shapes.
Modifications
If you’d like to speed things up or adapt the activity, try:
- Show an example of the completed Shapes of Stillness drawings so participants can see the end result.
- Use watercolors to quickly wash color into shapes.
- Work small by taping off a 4″ × 4″ (or smaller) square of paper.
- Start with one of the templates: trace gray starter lines, soften intersections, then add color.
- Use a thick black marker for bold lines, so students can focus on softening instead of retracing.
- If lines expand outside the box, simply cut out the square when finished.
Download Your Free Neurographic Art Wavy Lines Activity
This calming art activity is a wonderful way to bring stillness and focus into the classroom or at home. Encourage students to unplug, breathe, and let each line guide them back to calm.