How to Teach a Child to Cut with Scissors
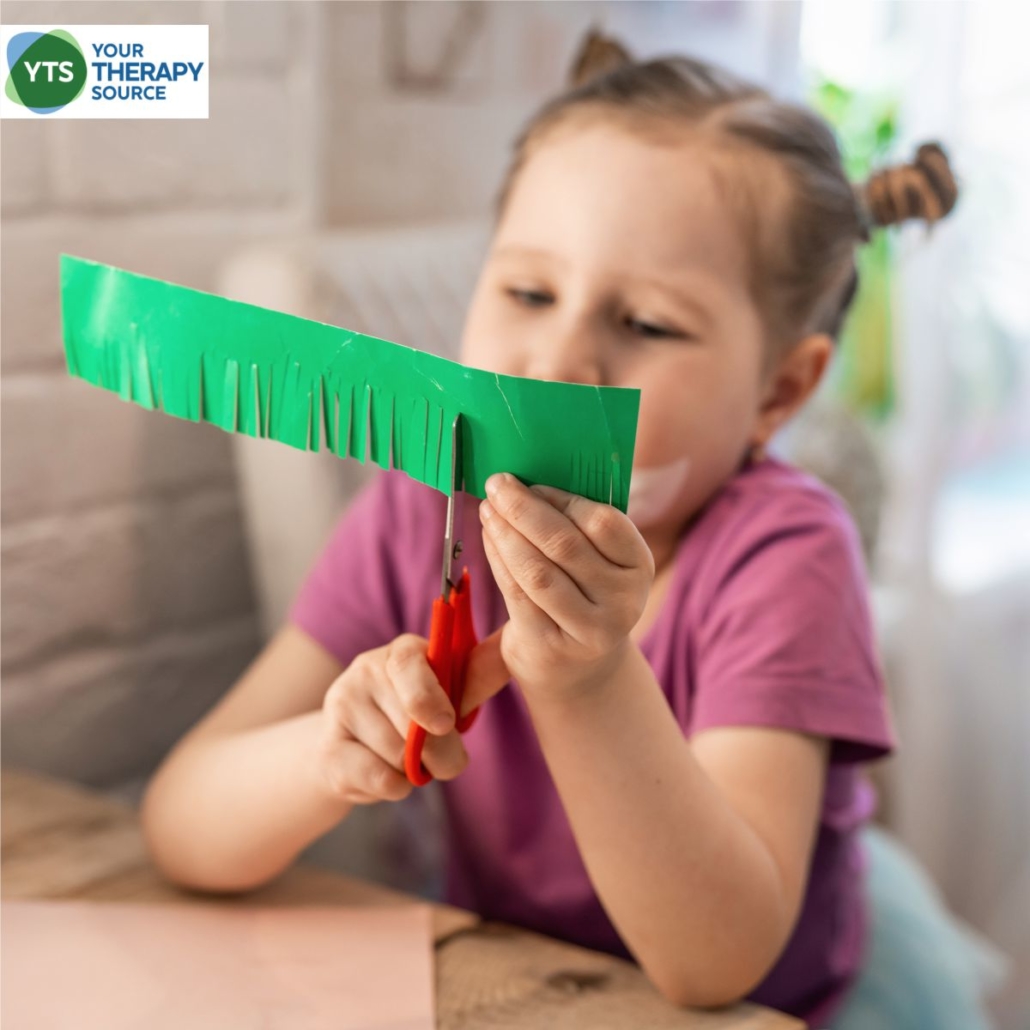
The skills needed to use scissors, begin at a very young age when babies begin to open and close their fingers to pick up small objects or little pieces of food. When babies crawl and push/pull toys, they build up the muscles in their shoulders and core to have the stability to use objects like crayons and pencils as they get older. These early fine motor skills and stability exercises help children build the foundational skills to use scissors. Here are steps on how to teach a child to cut with scissors and when these skills are accomplished developmentally.
Developmental Progression of Scissor Skills
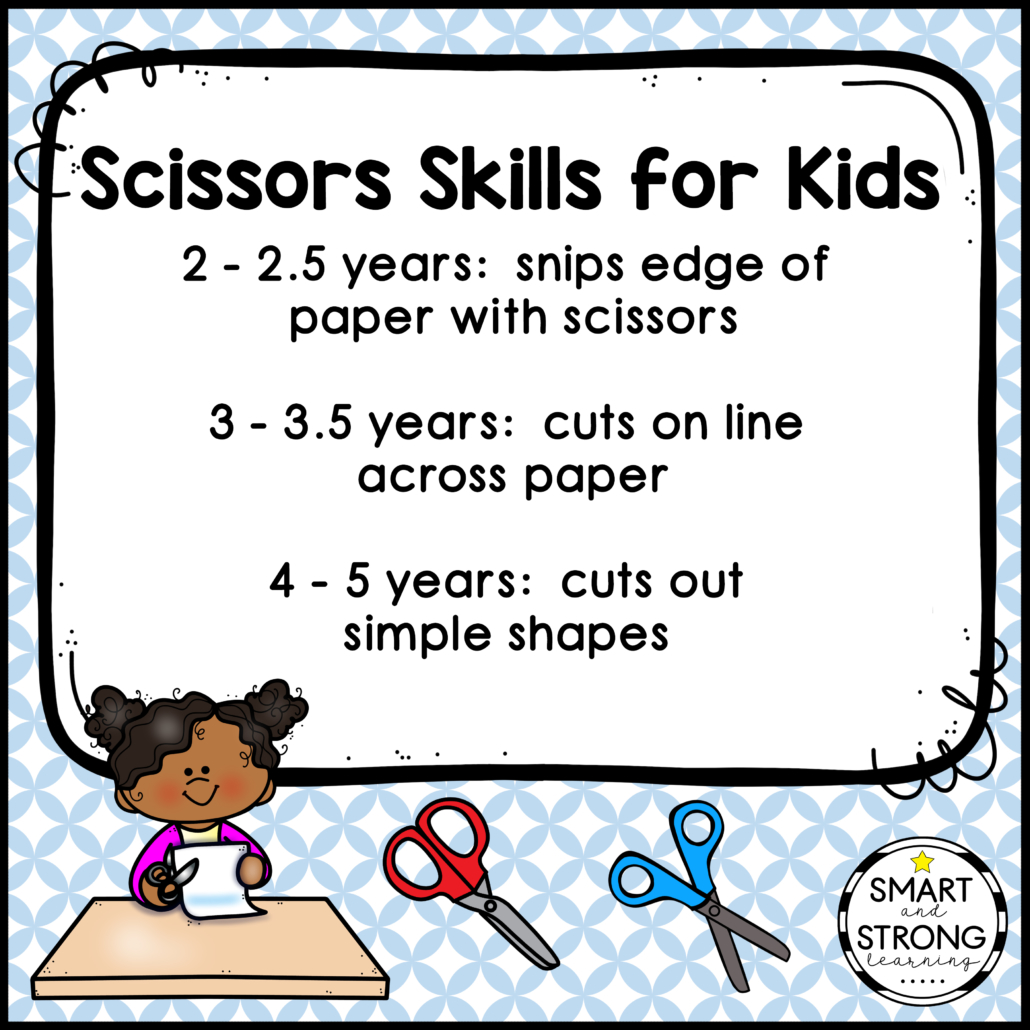
Before learning how to teach a child to cut with scissors, it is important to know when the child should start using scissors correctly. In general, scissor skills progress as follows:
- 2 – 2.5 years old: child snips edge of paper with scissors. May be able to use the other hand to stabilize the paper while cutting.
- 3 -3.5 years old: child cuts on line across paper. Holds and starts to turn the paper with the other hand.
- 4-5 years old: child cuts out simple shapes. Use the other hand to turn the paper fairly accurately.
These are a general range of when scissor skills develop, if you want to learn more details about scissor skill progression, check out The Scissor Skills Book.
How to Hold Scissors
It is important to teach a child hold to hold scissors. If a child starts to cut using a poor grasp, it can create habits that are difficult to correct.
Children should be taught to place the thumb in one loop and the index and middle fingers in the other loop. Another option that some children prefer is to place the thumb in one loop and the middle finger in the other loop, with the index finger stabilizing and guiding the scissors along the blade.
For both grasps, the thumb is always facing up. The ring and pinky fingers are curled into the palm.
Practice, Practice, Practice
Children need practice time to learn any new skills. When it comes to scissor skill use, the same is true. Children need ample time to learn this skill. Try to keep it fun and novel or children will give up easily.
Remember the developmental sequence of scissor skills when practicing. Keep it simple and start with snipping, progressing to lines and then to shapes.
Here are some resources that are super helpful when children are learning to use scissors:
- Flip and Snip Scissor Practice Game
- Snip and Spin
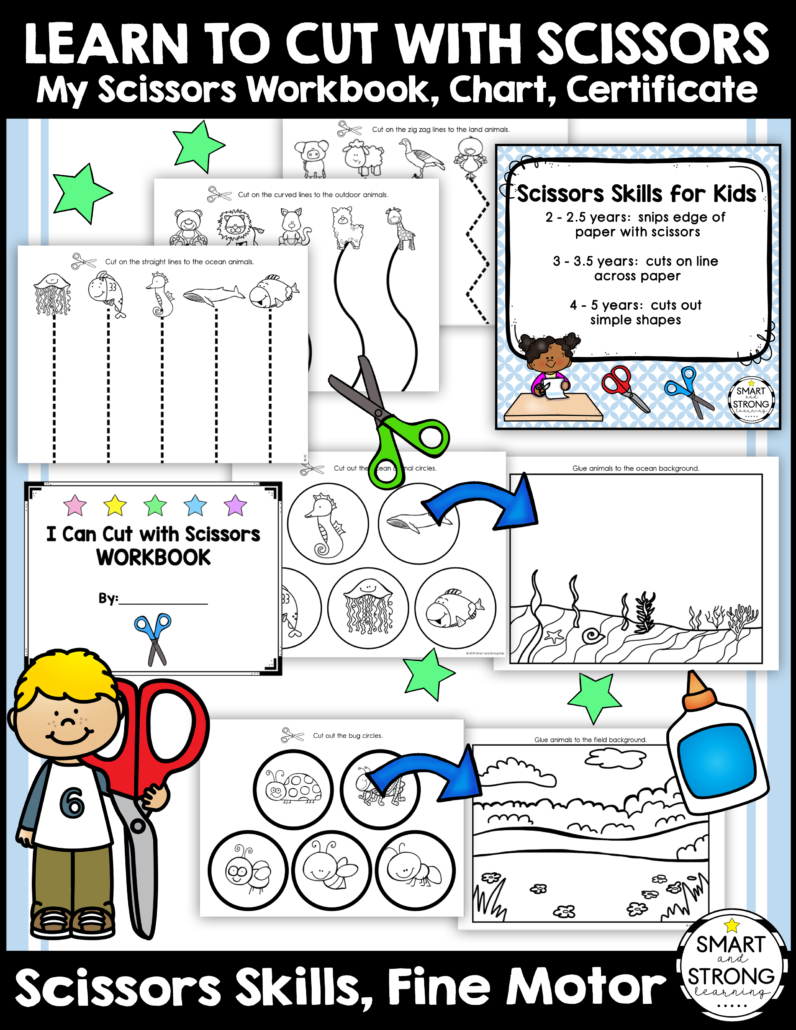
- Scissor Skills Printable Worksheets – perfect for progressing along the developmental sequence of learning scissor skills!
Tips to Modify the Task When Children Are Learning to Use Scissors
Not only is it important to learn how to teach a child to cut with scissors, it is important to learn a few tips to help modify the task of using scissor. This will helping making learning to cut a little bit easier and less frustrating.
1. Use thicker paper when cutting. Recycled mail, greeting cards or playing cards are fun and easier to cut up than regular paper. Make it functional and the children can cut up junk mail to recycle it. Cut up greeting cards to make a simple puzzle.
2. Use smaller paper. Start out with paper that is not very wide. Index cards are nice because it is small and thick paper. Here are some printable cutting strips that children can start with that only require a few inches of cutting.
3. Draw a line from the edge of the paper to the object being cut out. If a child needs to cut something out in the middle of a paper draw a straight line from the edge of the paper to the object for the child to cut along.
4. Make the line that needs to be cut stand out more. You can thicken the line with a black marker, highlight the line or put stickers along the line to provide extra visual cues of where to cut.
5. Different scissors. Standard scissors may not be the best choice for every child. There are sooooo many different types of scissors available and different ways to cut if a child can not use scissors.


Comments are closed.